
How to Clean Your Grill After a Long Winter: 10 Steps to Use Before First Cook of the Season

Spring is here, and the grilling season is calling! But before you fire up your grill after a long winter hibernation, it’s essential to give it a thorough cleaning and inspection. A clean grill not only ensures better-tasting food but also extends the life of your equipment. Follow these detailed steps to clean your grill and get it ready for your first cook of the season.
Step 1: Gather Your Tools
Before diving into the cleaning process, make sure you have the following items on hand:
- Grill brush or scraper: Choose one designed for your grill type.
- Mild dish soap: Non-toxic and gentle on your grill.
- Bucket of warm, soapy water: For scrubbing removable parts.
- Stiff-bristle brush or sponge: To scrub the grates and interior.
- Microfiber cloth or paper towels: For drying and wiping surfaces.
- Shop vacuum: Optional but great for clearing debris from the grill interior.
- Cooking oil or spray: For seasoning grates after cleaning.
- Replacement parts: If needed (e.g., grates, burners, or drip trays).

Step 2: Remember Safety First
- Disconnect or turn off fuel sources: For gas grills, ensure the propane tank or gas line is disconnected and for charcoal grills, remove any leftover ashes from the last cook.
- Ensure the grill is cool: Never clean a hot grill. Let it cool completely before starting.
Step 3: How to Clean Exterior of the Grill
- Wipe down the outside: Use a damp cloth and soapy water to clean the grill's exterior. Avoid abrasive cleaners that may scratch the surface.
- Polish stainless steel: If your grill has a stainless steel finish, use a stainless steel cleaner or a mix of vinegar and water to restore its shine.
Step 4: How to Deep Cleaning the Interior
- Remove the grates and plates: Take out the cooking grates, flavorizer bars, heat deflectors, or any other removable parts.
- Clean the grates: Scrub the grates with a grill brush or a sponge dipped in warm, soapy water. Rinse thoroughly and let them dry.
- Inspect the burners (gas grills): Check the burners for clogs, rust, or damage. Use a brush or a small wire to clean out any blocked ports.
- Vacuum or scrape the interior: Remove any leftover ash, grease, or debris from the grill’s interior. A shop vacuum works well for this step.
- Scrub the interior surfaces: Use a stiff-bristle brush or sponge to clean the inside walls and lid. Be thorough but avoid scratching the surfaces.
- Empty the grease tray: Clean out the drip tray and replace it if necessary. Leftover grease can cause dangerous flare-ups.

Step 5: Check and Replace Parts
- Inspect for wear and tear: Look for rusted, broken, or worn-out parts. Replace grates, burners, or other components as needed.
- Check gas connections (for gas grills): Reattach the propane tank and test for leaks by applying soapy water to the connections. Turn on the gas slightly—bubbles indicate a leak.
Step 6: How to Season the Grates
Reassemble the grill: Once all parts are clean and dry, put them back in place.
- Season the grates: Coat the grates with a thin layer of cooking oil to prevent rust and create a non-stick surface. Heat the grill for 15-20 minutes to burn off excess oil.
Step 7: How to Test Your Grill
- Preheat the grill: Turn it on and let it heat up for about 15 minutes. This burns off any leftover residue and ensures everything is functioning correctly.
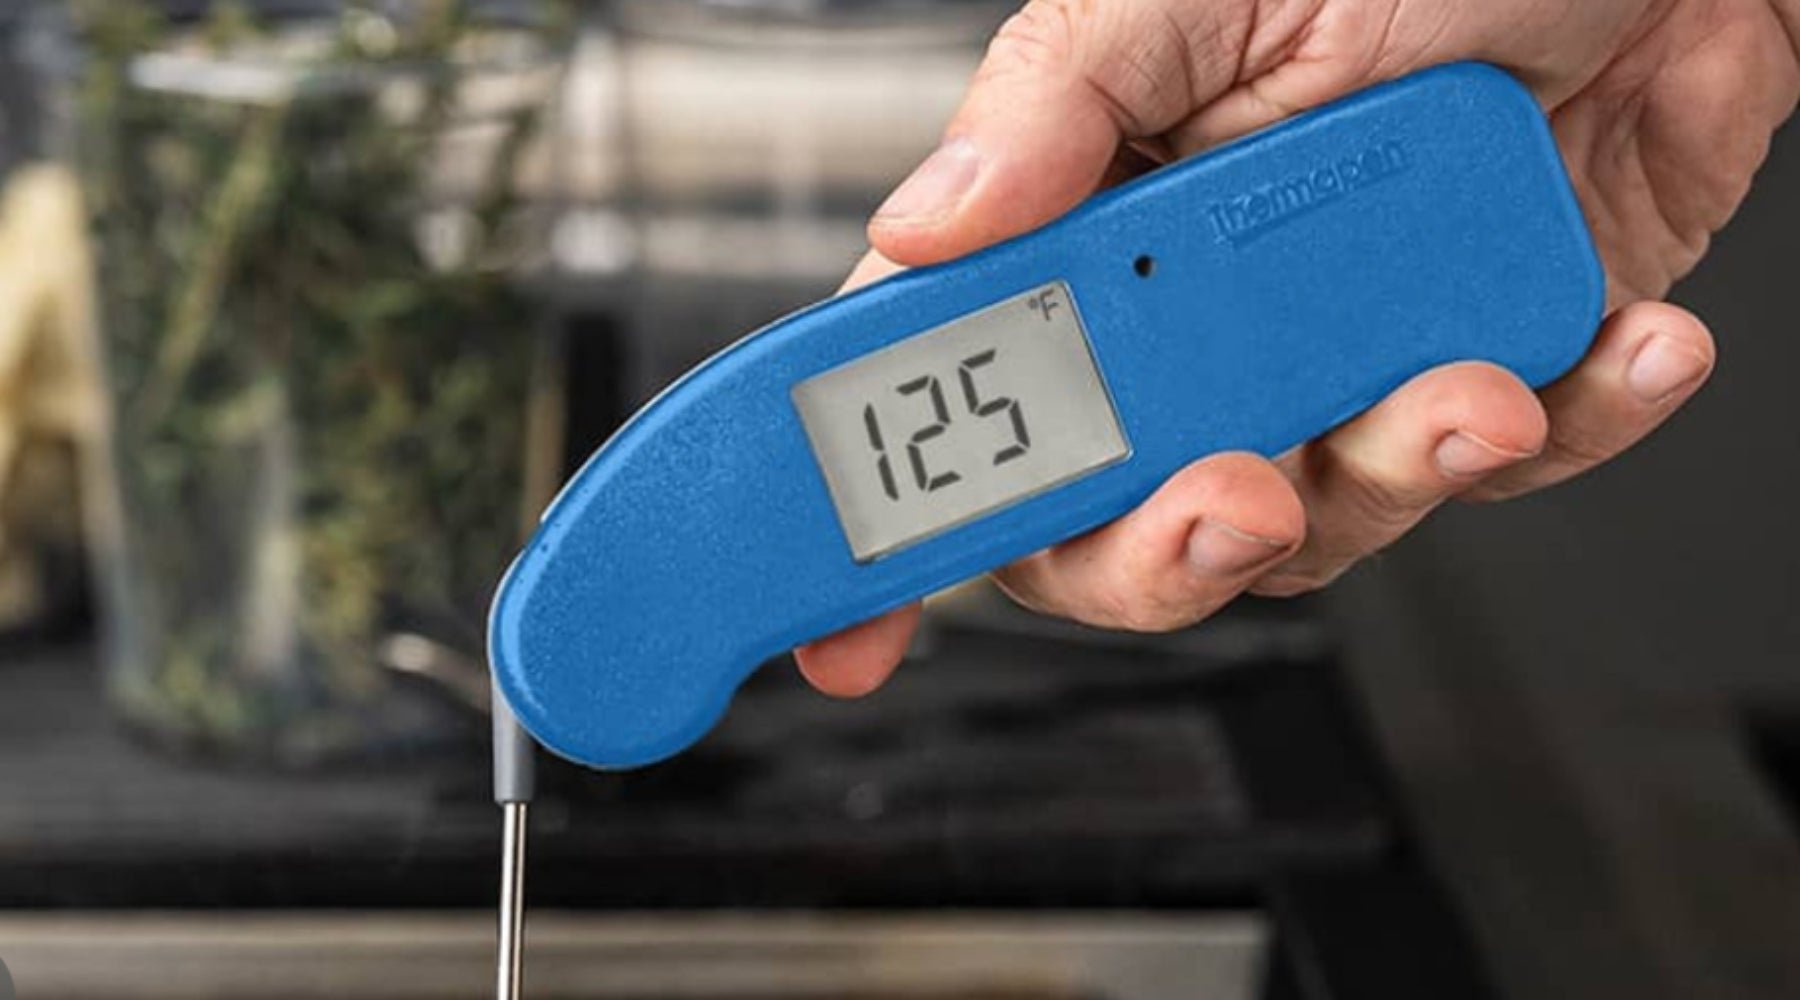
- Check for even heating: Use an infrared thermometer or check by feel to ensure all burners are working evenly.
Step 8: Remember to Stock Up on Essentials
- Inspect your tools: Check your grill tools like tongs, spatulas, and thermometers. Replace any worn or damaged items.
- Refill supplies: Stock up on charcoal, propane, wood pellets, or smoking wood chips depending on your grill type.
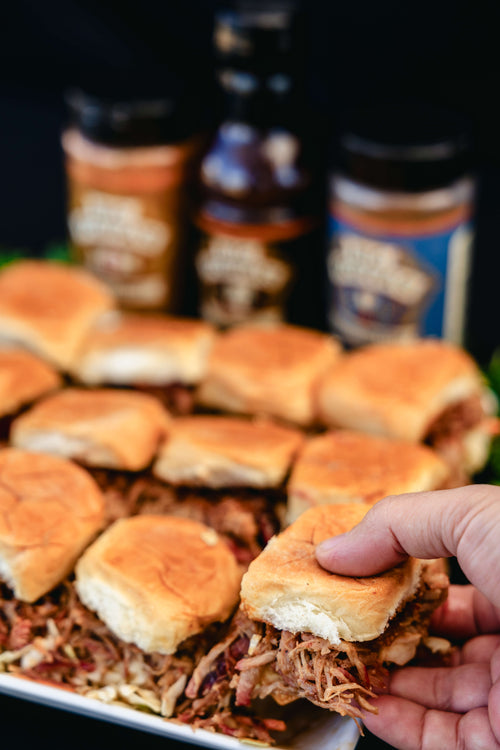
- Seasonings and rubs: Get your favorite BBQ seasonings, sauces, and injections ready for the season. Big Poppa Smokers has you covered with everything you need to take your BBQ to the next level!
Step 9: Plan Your First Cook
Start with something simple: A beginner-friendly meal like burgers, hot dogs, or chicken thighs is a great way to test your grill after its deep clean.
- Experiment with flavors: Try a new rub or sauce to kick off the season. Big Poppa Smokers’ Sweet Money rub or Blues Hog BBQ Sauce are excellent options.

Step 10: Maintenance Tips
- Clean as you go: After each cook, brush the grates and empty the grease tray to keep your grill in top shape.
- Cover your grill: Use a weather-resistant cover to protect your grill from the elements.
- Schedule monthly cleanings: Regular maintenance prevents major buildups and keeps your grill functioning smoothly.
Cleaning your grill after a long winter might seem daunting, but with these detailed steps, you’ll have it sparkling and ready for the season. A little TLC goes a long way in ensuring better-tasting food and a longer life for your grill. Now that your grill is prepped, it’s time to fire it up, gather your favorite recipes, and start enjoying the season of outdoor cooking!
If you are cleaning a griddle, check out Big Poppa's Tips on Cleaning a Griddle!
Happy grilling!
===================================================
FAQs About Cleaning Your Grill
Cleaning your grill after a long winter can raise some questions, especially for beginners. Here are five common questions and their answers to help you tackle grill maintenance with confidence.
1. How often should I deep clean my grill?
- Answer: A deep clean is recommended at the start and end of each grilling season, or after every 5-7 uses if you grill frequently. Regular light cleaning after each cook (like brushing the grates and emptying the grease tray) helps maintain your grill and minimizes buildup.
2. Can I use oven cleaner on my grill?
- Answer: No, oven cleaner is not recommended for grills. It contains harsh chemicals that can damage the grill’s surfaces and leave harmful residues. Stick to warm soapy water, a non-toxic degreaser, or grill-specific cleaning products for safe and effective cleaning.
3. How do I remove rust from my grill grates?
- Answer: To remove rust, scrub the grates with a stiff wire brush dipped in a mixture of vinegar and baking soda. For stubborn rust, soak the grates in the mixture for 2-3 hours, then scrub again. After cleaning, coat the grates with a light layer of cooking oil to prevent future rusting.
4. What’s the best way to clean cast iron grates?
- Answer: Cast iron grates should be cleaned gently to avoid removing their seasoning. Scrub with a grill brush or sponge dipped in warm, soapy water, then rinse and dry thoroughly. Immediately coat the grates with a thin layer of cooking oil to prevent rust and maintain their seasoning.
5. How do I clean the inside of my gas grill’s burners?
- Answer: Remove the burners and inspect them for debris or blockages. Use a small brush or pipe cleaner to clean out the burner ports, being careful not to damage them. Rinse the burners with warm water, dry them thoroughly, and reinstall them before testing.
By addressing these common concerns, you’ll feel more confident cleaning and maintaining your grill, ensuring it’s ready for a season


Leave a comment
This site is protected by hCaptcha and the hCaptcha Privacy Policy and Terms of Service apply.