How to Brine a Chicken

The Complete Guide to Juicy, Flavor-Packed Poultry
When it comes to BBQ or backyard cooking, there’s one technique that separates the good from the great: brining. If you’ve ever bitten into chicken that was dry, bland, or unevenly cooked, then this guide is for you. Brining a chicken makes it more tender and juicy. It also helps create amazing flavors that both pitmasters and backyard cooks love.
In this Big Poppa Smokers guide, you will learn all about chicken brine. We will cover the science behind it and give you step-by-step instructions to make your own brine. We will also discuss different flavors, common mistakes, and the exact products you need to make it easy.
Ready? Let’s dive in.

Why Brine Chicken? The Science of Juiciness
Chicken has a tendency to dry out on the grill or smoker because it’s leaner than pork or beef. Brining solves that problem by:
-
Enhancing Moisture Retention: Salt in the brine helps muscle fibers absorb water. This means your chicken stays juicy, even after a long cook.
-
Adding Flavor at the Core: Instead of seasoning just the outside, brining penetrates deep, infusing flavor throughout the meat.
-
Tenderizing Tough Cuts: The salt and liquid in the brine help break down muscle proteins. This makes the meat tender and tasty.
It's like treating your chicken to a spa day. Instead of cucumber slices, we use garlic, peppercorns, and maybe a splash of bourbon.

The Basics of Chicken Brine
So, what exactly goes into a chicken brine? At its core, you only need:
- Water (the base)
- Salt (kosher salt works best)
- Sugar (optional, but helps with browning and flavor balance)
From there, you can add aromatics (garlic, herbs, spices), citrus (lemon, lime, orange), or even broth to build depth.
Big Poppa’s tip: Don’t overthink it — a simple brine is better than no brine. Once you’re confident, start experimenting with flavors.
How to Brine a Chicken (Step-by-Step)
Here’s the foolproof method for brining a whole chicken.
Ingredients:
- 1 whole chicken (4–5 lbs)
- 1 gallon water
- ½ cup kosher salt
- ¼ cup sugar (white or brown)
- 3 cloves garlic, smashed
- 1 tbsp peppercorns
- Optional: herbs (thyme, rosemary), citrus slices
Instructions:
-
Prepare the Brine: In a large pot, combine water, salt, and sugar. Stir until dissolved. Add garlic, peppercorns, and any optional herbs/citrus.
-
Cool Completely: Make sure your brine is cold before adding chicken. Warm brine = food safety disaster.
-
Submerge the Chicken: Place your chicken in a large container or brining bag. Pour brine over until fully submerged.
-
Refrigerate: Cover and refrigerate for 8–12 hours. For smaller pieces (like chicken breasts), 2–4 hours is enough.
-
Rinse & Pat Dry: Remove chicken, rinse lightly, and pat completely dry with paper towels. This step ensures seasoning and rubs stick.
-
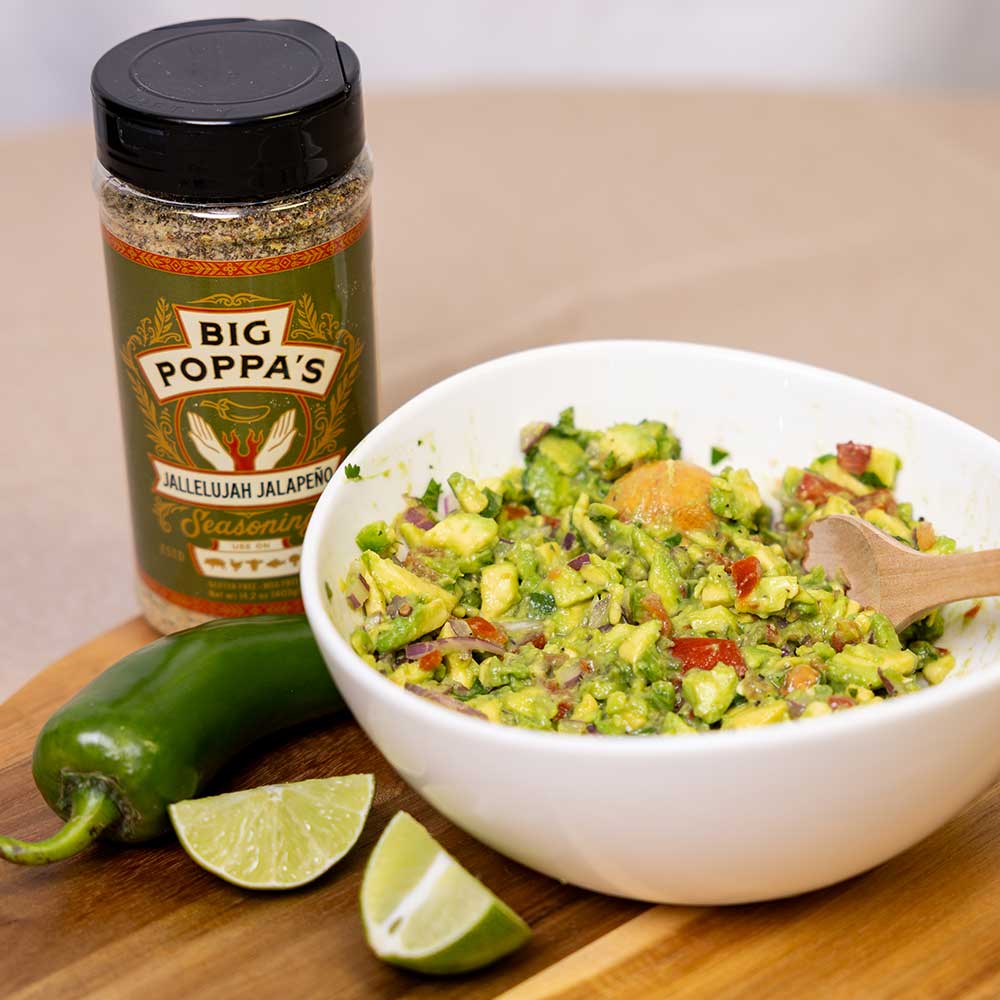
Season and cook: Use your favorite Big Poppa rub, like Jallelujah Jalapeño or Desert Gold. Cook it on your smoker, grill, or in the oven.

How to Make Your Own Brine Variations
Once you’ve nailed the basic brine, try these fun variations to mix things up:
- Citrus Brine: Add lemon, lime, or orange slices. This marinade works perfectly for chicken that you will grill hot and fast.
- Spicy Brine: Add crushed red pepper flakes, jalapeños, or even a splash of hot sauce. Try it with Jallelujah Lime for a zesty kick.
- Sweet & Savory Brine: Replace half the water with apple juice or sweet tea. Great with smoked chicken wings.
- Beer Brine: Swap some of the water with beer for malty, rich flavor. Works especially well on thighs and drumsticks.

Brining Chicken Breasts, Thighs, and Wings
The process is the same, but timing matters.
-
Chicken Breasts: 2–4 hours. Don’t over-brine or they’ll get mushy. See our How to Cook a Chicken Breast guide for finishing tips.
-
Chicken Thighs: 4–6 hours. Great candidates for spicy brines.
- Chicken Wings: 2–3 hours. Follow with Jallelujah Jalapeño rub for game-day perfection.
Learning how to brine a chicken is one of the easiest ways to level up your BBQ game. Once you master the basics, you can experiment endlessly with flavors and techniques. A good chicken brine can make your meat juicy, tender, and flavorful.
You can use it for a holiday meal, a tailgate party, or a weeknight dinner.
So grab some salt, water, and your favorite Big Poppa rubs — and start brining your way to better chicken today.
Tools You’ll Want for Brining
-
Cotton BBQ Gloves — safe handling of raw chicken and hot grates.
-
Neoprene BBQ Gloves — essential when moving brined chicken in/out of smokers.
-
Disposable Latex Gloves — for food-safe prep and seasoning.
-
Mix & Match Rubs Bundle — stock up on Big Poppa’s award-winning rubs to finish your chicken.
Pro Tips for Brining Success
-
Don’t Overdo It: More than 12 hours for a whole chicken = too salty.
-
Always Chill the Brine: Hot brine = bacteria risk.
-
Use Non-Reactive Containers: Stainless steel, glass, or brining bags. Avoid aluminum.
-
Season After Brining: Brine is not a replacement for rubs. Think of it as the foundation.
Common Mistakes to Avoid
-
Skipping the Pat Dry Step → rubs won’t stick.
-
Using Table Salt → too fine, over-salts meat. Use kosher.
-
Forgetting Time Differences → breasts ≠ whole chickens.
-
Brining + Injecting Together → too much salt; pick one technique.

FAQ: How to Brine a Chicken
Do I really need sugar in a chicken brine?
No, but it helps balance salt and promotes browning.
Can I freeze chicken after brining?
Yes, but dry it well first to avoid ice crystals.
What’s the shortest brine time for chicken?
Even 30 minutes in a pinch will help — but 4–8 hours is ideal.
Can I reuse brine?
NO! Always discard used brine for food safety.
Is brining the same as marinating?
No. A brine uses salt and water for juiciness, while a marinade uses oil, acid, and flavor for surface taste.
Additional Resources
Want to put your brined chicken to work? Check out these recipes and guides:


Leave a comment
This site is protected by hCaptcha and the hCaptcha Privacy Policy and Terms of Service apply.